5 Reasons Glue Won’t Dry (and How to Make It Dry Faster)
Glue is a staple in various carpentry and woodworking projects. However, waiting for the glue to dry while you’re working on a project can be frustrating.
There are various reasons why wood glue just won’t dry. So, in order to ensure your project is successful, it’s important to understand how the drying process works and how long it would take for glue to fully dry.
It’s also important to understand how other external factors can affect the drying process.
So, why won’t wood glue dry? Wood glue won’t dry for various reasons including not using the right kind of glue for the surface or if the surface the glue is applied on is not suitable for bonding due to lack of pores or presence of high moisture content. It will also not dry if the temperature is too cold, the humidity is too high, or if the air circulation in the room is poor.
In this blog post, we’ll discuss the different kinds of glue that can be used on wood as well as the reasons why wood glue won’t dry, and how to make it dry faster.
Contents
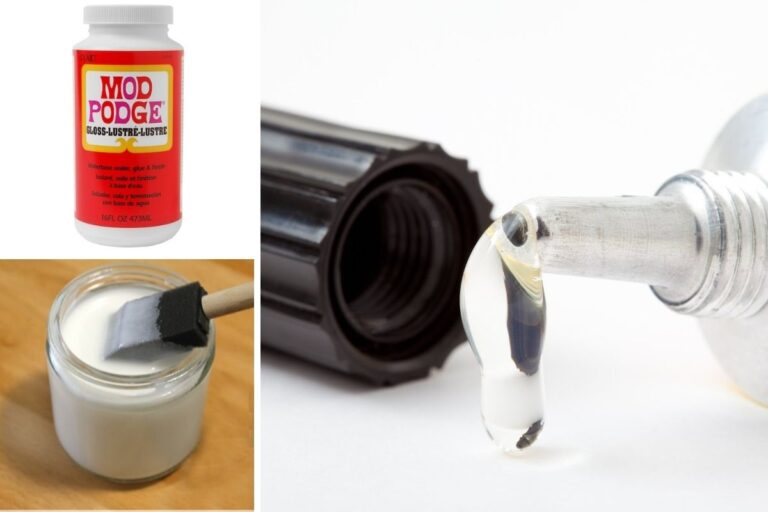
What Kind of Glue Is Used On Wood?
There are various kinds of glue that can be used on wood. Let’s take a look at the most popular kinds:
Polyvinyl Acetate (PVA) Glue
- This kind of glue is also known as White Glue
- It’s a synthetic glue made through a series of chemical reactions.
- It contains various chemical components including polyvinyl acetate polymers, ethanol, acetone, and water.
- The water is responsible for maintaining the glue’s consistency while the rest of the chemical components control the rate at which the glue dries when it’s exposed to air.
Polyurethane Glue
- This kind of glue is also known as Gorilla Glue.
- It is one of the strongest and longest-lasting kinds of glue.
- Its base ingredient is a chemical compound called polyurethane. It also contains various chemical isomers and homologs.
- It’s completely waterproof and can be used on various kinds of surfaces including metal, stone, wood, ceramics, foam, and even glass.
Cyanoacrylate Glue
- This kind of glue is also known as Crazy Glue.
- Its base ingredient is a chemical compound called cyanoacrylate which gives it the ability to form extremely strong bonds with different kinds of surfaces.
- The surface it’s applied on needs to have a degree of moisture for the molecules of the glue to react and bond quickly.
Animal Glue
- This kind of glue is made from collagen that is found in animal body parts.
- It is favored by woodworkers because it forms a strong joint that does not wear out over time
- It dries clear, so you can apply a new layer of glue on top of the old layer without it becoming too clumpy or noticeable.
- It can be softened with heat which makes it reversible. This will allow you to separate the glued surfaces by applying heat to correct any irregular fits.
You can learn more about animal glue here.
Epoxy Glue
- This kind of glue is made from two starting compounds which are the resin and the hardener. The two compounds typically come in separate containers.
- The glue bonds with the surface when the two compounds are combined just before application.
- It might take longer to dry than other kinds of glue, however, it creates much stronger bonds that are resistant to chemical influences and can withstand high degrees of pressure for extended periods.
How Does the Drying Process of Glue Work?
Different kinds of glue are made from different chemical components which consequently means they dry in different ways.
PVA-based glues contain water in their formula which affects the consistency of the glue. The water acts as a solvent that keeps the glue in a liquid form until you apply it to a surface.
Once the PVA glue is applied on a surface, it will be exposed to air and the water will gradually evaporate. Once the water evaporates, the glue will start to harden and dry as all that will be left are the base components in the glue, mainly the PVA polymers, which will form a strong bond with the surface.
When it comes to polyurethane-based glue and cyanoacrylate-based glue, the chemical components will react quickly with the moisture on the surface the glue is applied forming an extremely strong bond
With epoxy glues, you first need to combine the resin and the hardening substance before applying it to a surface. This will create a chemical reaction that will cause the glue to bond with the surface and start the drying process.
Set Time Vs Dry Time Vs Cure Time
One of the most important aspects you need to understand about the drying process for different kinds of glues is the difference between set time, dry time, and cure time.
Let’s start with the one that comes first in the drying process, which is the set time.
The set time is basically the amount of time it takes for the glue to create a bond of acceptable strength on the surface it’s applied to. Most kinds of glue take between 15 to 30 minutes to set.
You can tell the glue has started to “set” when it shows signs of hardening which is often indicated by a solid skin formed over the layer of glue.
During the set time the glue will be in a fragile state between solid and liquid which means the bond could fall apart easily if even a small amount of pressure is applied to the surface.
Next is the dry time which refers to the amount of time it takes for the glue to become solid enough to withstand some amount of pressure without having the bond fall apart. This can take between 15 minutes to an hour depending on the kind of glue.
However, keep in mind that just because the glue is dry, it doesn’t mean that the surface is ready to be used.
The final step of the drying process is the cure time which refers to the amount of time it takes for the glue to reach its maximum hardness. This step typically lasts the longest as it can take as little as 24 hours and sometimes even up to several days.
Once the glue has fully cured, it will be able to withstand any kind of pressure and the surface can be safely used.
Open Assembly Time Vs Close Assembly Time
In addition to the set time, dry time, and cure time, different kinds of glue also have an open assembly time and a close assembly time.
Understanding the difference between the two is highly important when applying glue to wood.
Open assembly refers to the amount of time you have from the moment the glue exits its container to the moment it creates a bond before becoming too dry to use. Some kinds of glues have a very short open time, so they need to be applied quickly.
Closed assembly, on the other hand, refers to the amount of time you have to reposition the glued surface before the glue bonds too strongly with and the surface can no longer be moved. Attempting to reposition the surface once the time has expired will cause the bond to become weaker and fall apart more easily.
How Long Does Glue Take to Dry?
There’s really no set time frame for how fast the drying process of glue goes as there are many factors that can affect the drying process.
These factors include:
- The kind of glue you’re using.
- The amount of glue and how many layers are applied to the surface.
- The kind of surface the glue is applied on.
- The temperature of the room you’re working in and the level of humidity.
Check the following table for the average time it takes for different kinds to finish the drying process under normal conditions
| Type of Glue | Average Drying Time |
|---|---|
| Polyvinyl Acetate (PVA) | 30 minutes to set and dry, 18-24 to fully cure |
| Polyurethane | 1-2 hours to set and dry, 24 hours to fully cure |
| Cyanoacrylate | 10-30 seconds to set and dry, 8 hours to fully cure |
| Animal | 1-2 hours to set and dry, 10-12 hours to fully cure |
| Epoxy | 20-30 minutes to set and dry, 24 hours to fully cure |
The Main Reasons Why Wood Glue Isn’t Drying
There are many reasons why your wood glue isn’t drying fast enough or isn’t drying at all.
Some of those reasons are related to the kind of glue you’re using and the surface you’re applying it on while other reasons are related to external factors such as the temperature, humidity, and air circulation in the room.
Let’s take a closer look at all the reasons why your glue isn’t so you can avoid them in future projects:
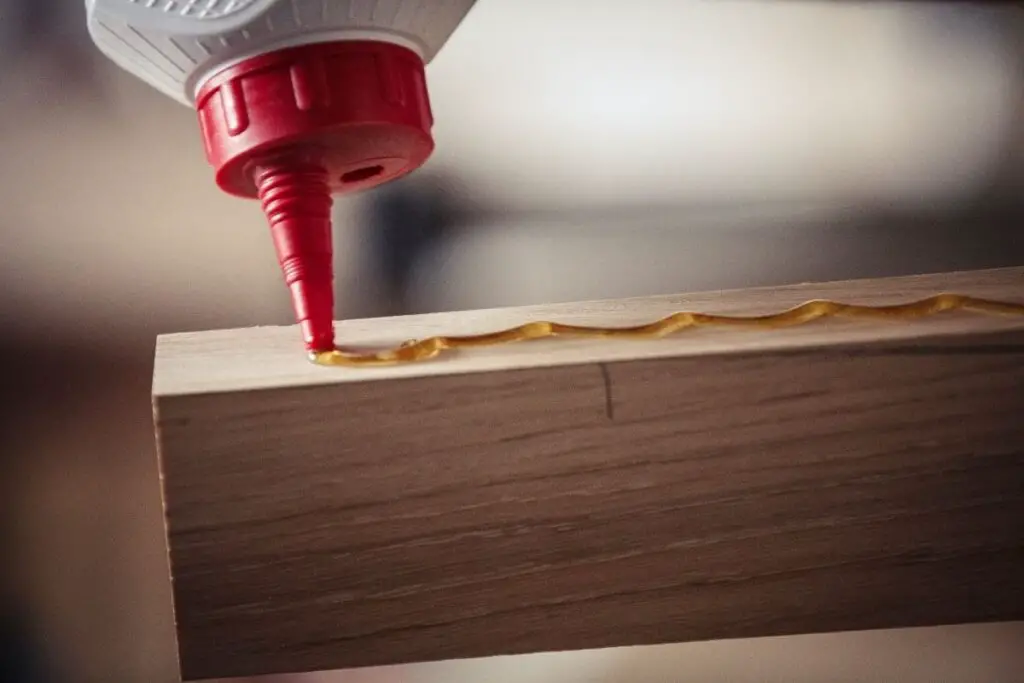
You’re not using the right kind of glue
You need to make sure you’re using the right kind of wood glue for the job. As mentioned before there are several kinds of glue that can effectively bond with wood including PVA glue, polyurethane glue, cyanoacrylate glue, epoxy glue, and animal glue.
The glue you’re using might also be too old. If you’ve had the glue for over a year, there’s a big chance that it’s expired and that its chemical composition has degraded. This will prevent the glue from bonding properly with the surface making it impossible to dry.
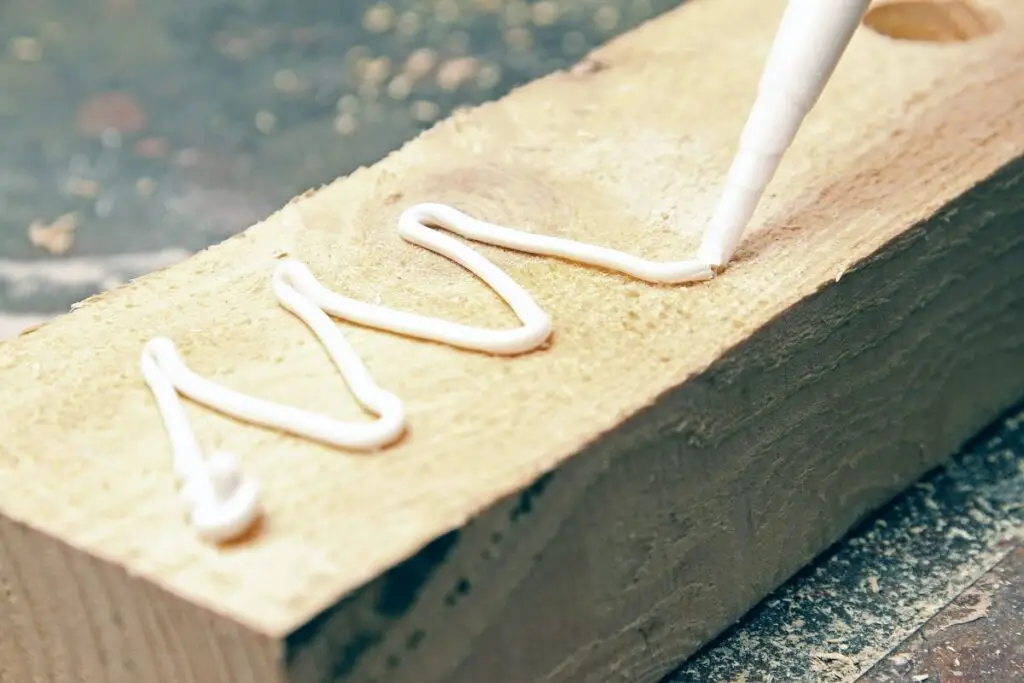
The surface you’re applying the glue on is not suitable
There are different kinds of wood with different properties.
When applying glue to wood, you need to make sure that the wood fibers are not too dense. There need to be enough pores on the surface, especially when using PVA glue, otherwise, the glue will not adhere to it properly.
You also need to make sure that wood is not oily and that it doesn’t contain high moisture content as this will prevent the glue from fully penetrating the surface and will slow down the drying process. This does not apply to cyanoacrylate-based glues, as they require moisture to effectively bond with the surface.
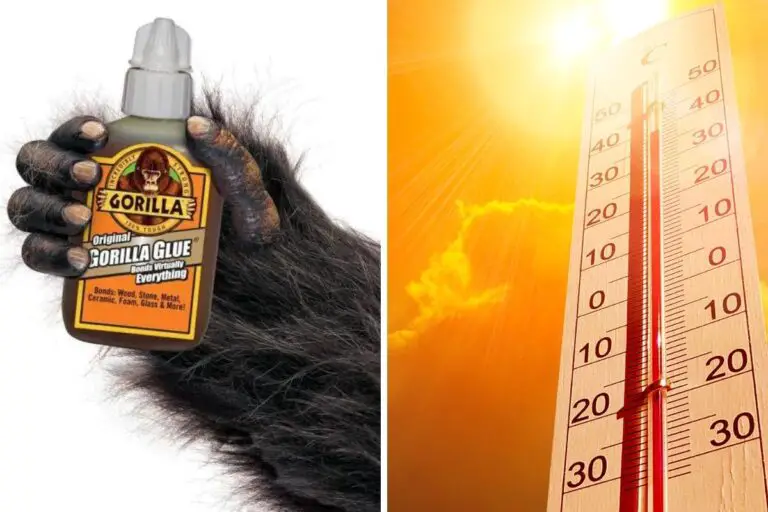
The temperature of the room is too cold
Different kinds of glue require a certain temperature to operate. If the temperature is too cold, the glue will simply not dry.
So, you need to make sure that the temperature of the room you’re working in is suitable for the kind of glue you’re using.
Check the following table for the ideal operating temperature range for different kinds of wood glue:
| Type of Wood Glue | Ideal Operating Temperature |
|---|---|
| Polyvinyl Acetate (PVA) | 50-77°F (10-25°C) |
| Polyurethane | 50-95°F (10-35°C) |
| Cyanoacrylate | 41-200°F (5-93°C) |
| Animal | 120-150°F (48-65°C) |
| Epoxy | 41-95°F (5-35°C) |
If you are using Gorilla glue, make sure to check out this guide to the temperature ranges Gorilla glue can be used here.
The level of humidity in the air is too high
Humidity refers to the amount of water vapor in the air. If the level of humidity in the air is higher than 60 percent, you will find that it will take longer for wood glue to dry.
You can determine the degree of humidity in the air by checking the local weather forecast or you can buy a hygrometer to measure the humidity more accurately. I have this one from SMARTMO which you can check on amazon here or by clicking on the image below.
I like this one because the screen is nice and big, it’s easy to understand, and it can be mounted or used anywhere.

The air circulation in the room is not ideal
Various kinds of glue require exposure to air in order to dry properly, so you need to make sure the room you’re working in has sufficient airflow and proper ventilation.
If you’re working in a room without any windows to let in the fresh air, you will find that the glue surface will take a significantly longer time to dry.
How to Make Glue Dry Faster?

The glue dries the fastest when the temperature is high, the amount of humidity in the air is low, and the air circulation in the room is sufficient.
Let’s take a look at all the different ways you can improve your working conditions to make glue dry faster:
Prepare the surface before applying the glue
Make sure the surface you’re working on is clean and completely dry before applying the glue.
Clean the surface with a damp cloth to remove any dust or oil residue, wipe it down with a dry cloth to remove excess water then leave it to air dry.
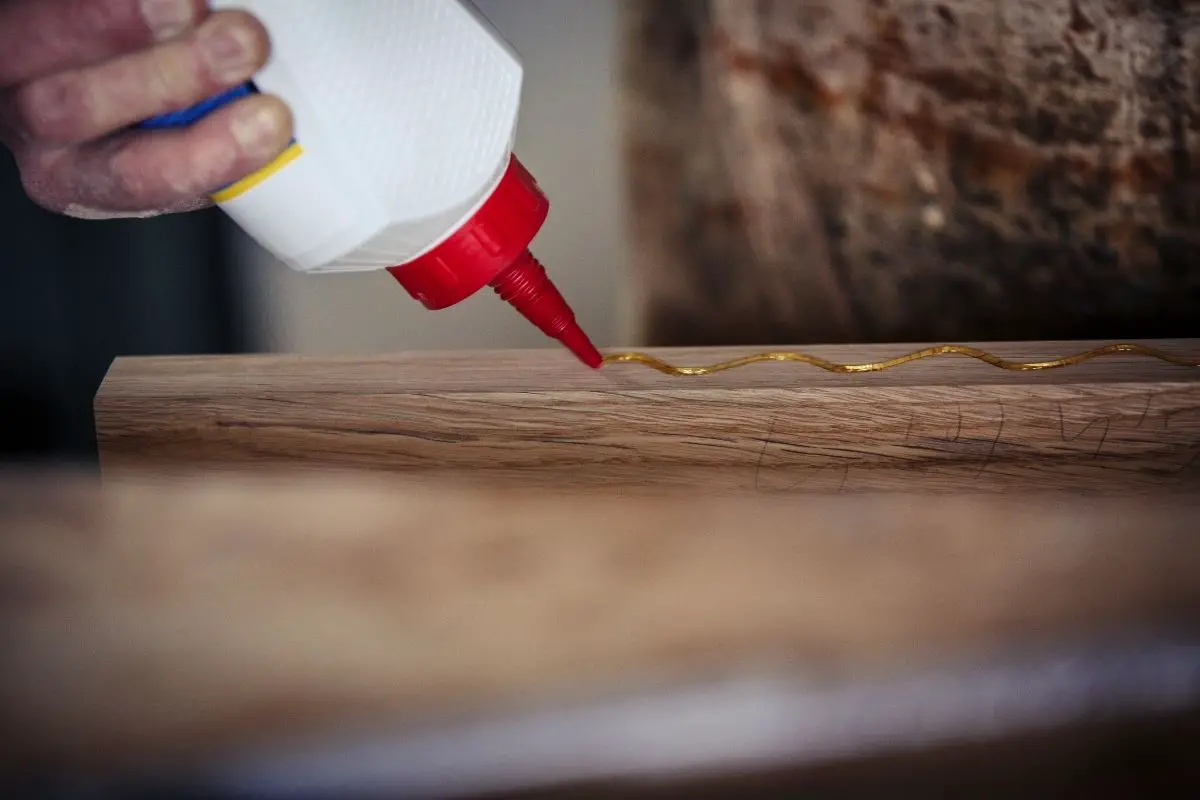
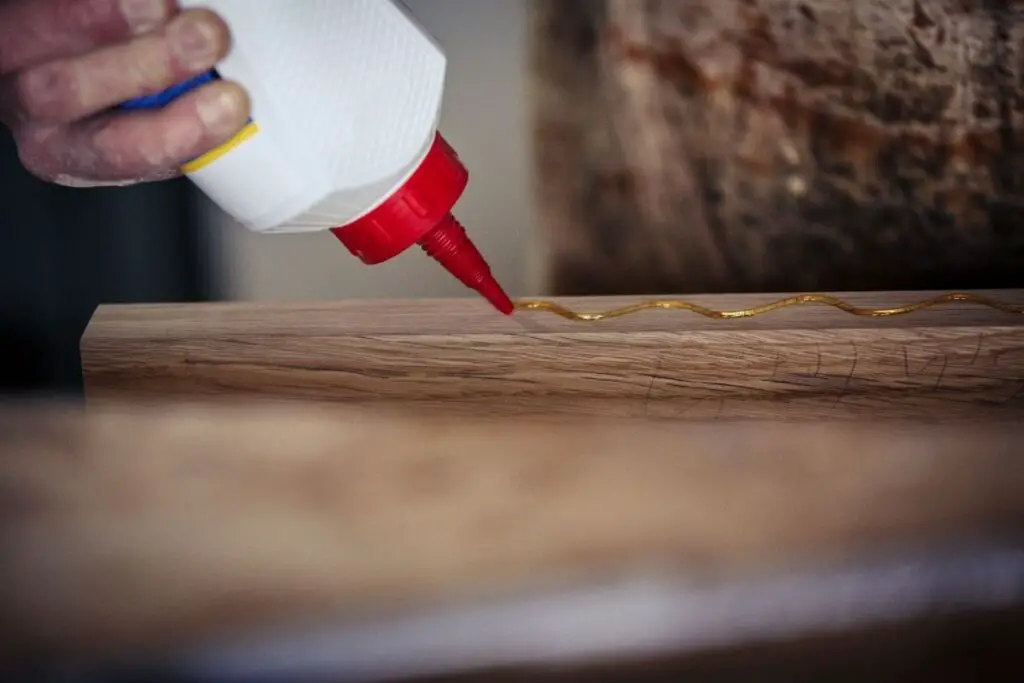
Use a suitable amount of glue
The amount of glue you need to use mainly depends on the size of the surface you’re applying it on. However, it’s highly recommended to use the smallest amount of glue possible and to apply it in a thin layer.
You can use a thin piece of plastic or a toothpick to spread out or remove some of the excess glue if necessary.
Apply heat to speed up the drying process
Heat accelerates the drying process of glue. You can use a natural heat source like the sun by placing the glued surface outdoors or next to an open window indoors. This will be convenient for drying large surfaces and you also won’t have to monitor the drying process.
You can also use various electric heat sources, however, you need to be more careful with those and to monitor the drying process closely as exposing the glued surface to excessive heat for long periods of time might cause damage to the surface.
If you use a hairdryer, make sure it’s set on low heat and direct the airflow at the glued surface. Hold the hairdryer at about 12 inches away from the surface for 2 to 3 minutes at a time.
If you use a space heater to increase the temperature of the room, make sure it’s set to low heat and place the glued surface in the same room as the heater. Make sure to close any doors or windows in the room to keep the heat contained in the room.
If you use an electric blanket, make sure it’s set on low heat and lay it flat on the ground close to the glued surface. If you’re going to cover the surface with the blanket, it’s recommended to use an old electric blanket in case of the glue sticks to it.
Enhance the airflow and circulation in the room
This can simply be done by opening the windows in the room to let in more fresh air
You can also set up 1 or 2 fans and point them toward the glued surface.
Use natural or chemical accelerators
You can use natural accelerators such as baking soda. All you need to do is sprinkle a pinch of baking soda on the glue spot you want to dry.
You can also use chemical accelerators that are designed to speed up the time that it takes for the glue to set and cure. These come in the form of spray bottles that you can find at local hardware stores.
All you need to do is hold the bottle about 12 inches away from the glued surface then spray the accelerator sparingly over the spot you want to dry fast. However, try not to apply too much of the accelerator as it can make the surface turn white.
Related Questions
Will Freezing Glue Make It Dry Faster?
Freezing glue will not make it dry faster and it might damage the chemical composition glue completely. That is because different kinds of glue require a certain temperature to operate and bond with the surface. If the temperature the glue is kept in is too cold, the components of the glue will join together forming a solid clump making the glue unusable.
You can learn what happens when glue freezes here.
Will Overheating Make Glue Toxic?
Overheating glue will make it toxic even if the glue doesn’t contain harmful ingredients. That is because excessive heat will break down the chemical components of the glue causing it to release harmful fumes that can be dangerous to individuals with existing respiratory problems and prolonged exposure to them will cause severe health problems.
You can learn more about how toxic glue fumes are here.
How to Stop Glue from Drying in the Container?
To stop the glue from drying in the container, you need to make sure the cap of the glue is sealed tightly when you’re not using the glue to avoid exposing the glue to air. You also need to make sure the glue is stored properly by placing the glue container in a sealable bag then storing the bag in a cool dry location.
How Long Can Wood Glue Last Before It Expires?
Wood glue can last for about 8 to 12 months before it expires if the glue container is sealed and stored correctly. You can check the exact expiration date on the container of the glue and make sure not to use it past that date as it will not bond properly with the surface. When storing the glue, make sure it’s kept away from excessive heat and moisture.
Helpful Resources
Different types of glue for wood
If you like this article, share it!
![Is Hot Glue Toxic To Animals? [Answers for Every Pet]](https://simpleglue.com/wp-content/uploads/2021/11/hot-glue-gun-768x512.jpeg)
![Can You Use Expired Glue? [Shelf Life of All Glues Explained Simply]](https://simpleglue.com/wp-content/uploads/2022/01/expired-glue-768x512.jpeg)